Photography Tutorials
The holidays are here and there are photographs to take! Unfortunately for those of us who love natural light though, many of the impending holiday photos have to be taken indoors. Here are a few photography tutorials filled with tips and tricks for taking beautiful indoor holiday photos.
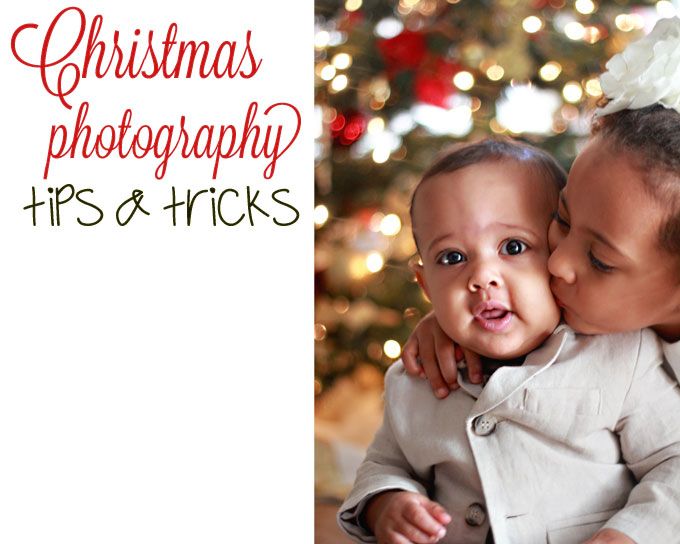
Do you cringe at the thought of creating pretty pictures indoors? How about indoors during the winter, when light isn’t in abundance? Ya, me too – hate it.
My home, although filled with the light of our love and energy, definitely lacks in natural light on our first floor. During the summer months its not so bad because this Vegas sun brings more than enough sun light (and heat), but during the winter my house gets darker earlier and that makes indoor photography a challenge. But, not impossible!
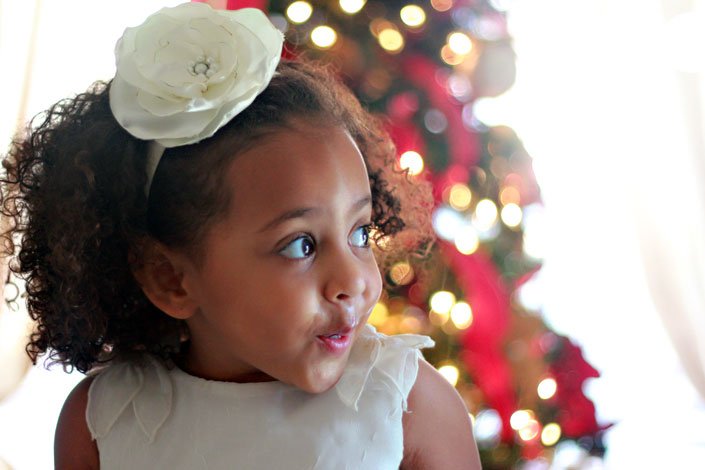
Other than sharpening for web viewing, these photos are straight out of the camera. I wanted a very specific composition. With our Christmas tree in the background, creating bokeh (photography tutorials coming soon), I wanted pretty portraits of the kids as we get the Christmas season underway. It took me a looong time to find enough light with the restrictions listed above, but when I finally did…. my heart skipped a beat. Oh, how I LOVE photography!!
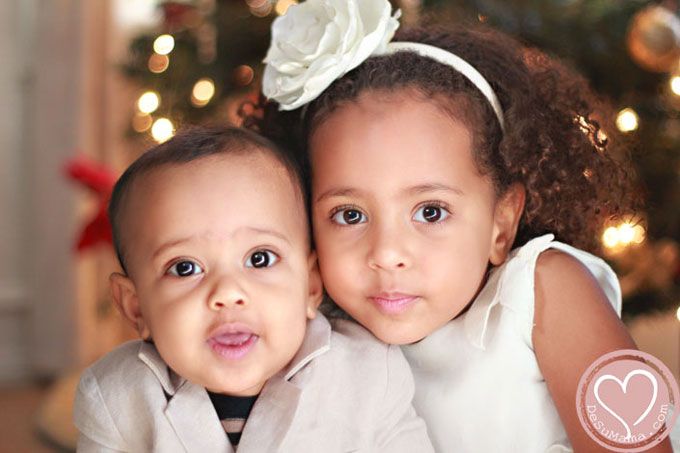
Apart from thinking my babies are adorable, I am so happy with the lighting of this image! Do you see the catchlight in their eyes? The even skin tones? The lack of distracting shadows? The only change I would make is to have the bokeh extending to the left of the image, but I couldn’t fit it in without comprising my lighting. (In a horizontal orientation, anyway.)
I just want to say, you don’t have to be a professional photographer to accomplish great lighting (I’m not!) and you don’t need a DSLR camera either. You just need to turn off your flash and look for the light. Here are a few tips and tricks on how I captured my babies in gorgeous indoor lighting, without a flash…
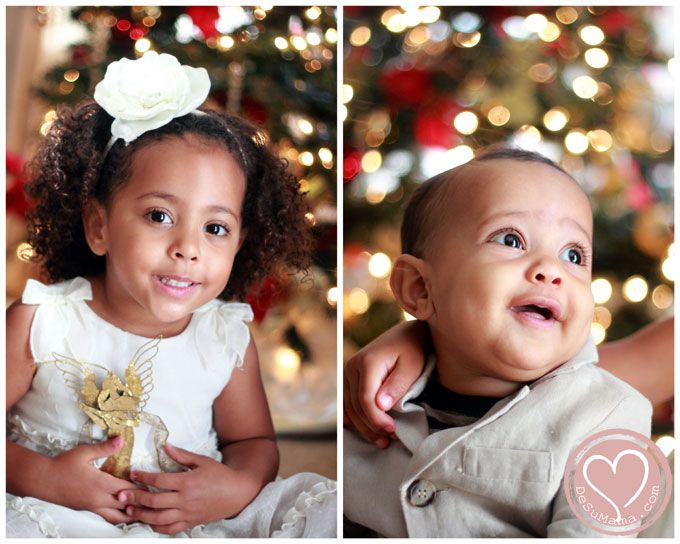
When shooting indoors, it is imperative that you look for the best light, natural preferably. Do you have great windows? A sky light? A big sliding glass door (which was what I used in these photographs)?
Ayudita (tip) Numero Uno: Find a source of light that gives you the most and clearest natural light. Clear meaning without color cast. So, if you have curtains (especially with color on them) pull them completely out of the way. Also, be wary of direct light that will cast unflattering shadows.
Ayudita (tip) Numero Dos: If your best natural light comes filtered through windows, elevate your babies to the height where the light best suits them. So, at one point, I had my kids sitting on our dining room table (Daddy was keeping watch). Once I started using the glass door, they sat on the ground because of the direction at which the sun was entering our home (which means then I was shooting while laying on my belly).
Ayudita (tip) Numero Tres: I shoot with a prime lens, so indoor photography hates me. But even with a zoom, you can find yourself jammed into a corner. Be prepared to move furniture around, out of the way completely or think of creative ways to capture your subjects in interesting ways despite the 10×10 constraints.
Ayudita (tip) Numero Quatro: Manual mode! Drop your aperture to the lowest advisable setting according to how many subjects you are shooting. For these, I was at 1.8 to keep as much light in my camera as possible, but was also very conscience to keep both kids on the same plane so to keep them both in focus. To play it safe, I should have shot at 2.2 or higher. (I got lucky today.)
Ayudita (tip) Numero Cinco: This tip is specific to our family (and others like mine) – if you are shooting in manual mode and want to highlight brown skin tones, over expose ever so slightly. Don’t go overboard though so to alter appearances, but just enough to capture the natural occurring highlights in your subject’s skin. Especially with Daddy D, who has the most incredible undertones in his skin color, when shot with a balanced meter, he almost always looks flat. I caution those with very fair skin to avoid over exposing and the risk of blowing out the image.
Be on the look out for more holiday photography tutorials coming soon! Hope everyone had a blessed Thanksgiving!

7 Comments
Becky
November 25, 2012 at 9:18 amGreat tips- your pictures (and kids!) are *stunning*!!!! What gorgeous pictures these are!
Vanessa
November 25, 2012 at 9:32 amThanks so much, Becky! I really love how they turned out too. Happy holidays to you and yours!
NatalieMartinez
November 25, 2012 at 9:51 amThanks for this timely post! I’ll be taking holiday photos next weekend!
Flor Olivo
November 25, 2012 at 10:29 amLove your tips!! Also tip 5 is refreshing 🙂 I take lots of pictures of people of color and there aren’t enough tips on how to bring out those beautiful brown tones. <3 thanks!
Vanessa
November 25, 2012 at 10:46 amTotally agree, Flor! I have a post in the works specifically on shooting our pretty families. I’ll keep you posted!
Erica
November 26, 2012 at 6:06 amGreat tips! My main problem photographing mine is that they hate taking pics for me…they run and squirm because they know it gets to me. Your bebes are absolutely stunning though ….as always!
Christmas Tree Bokeh: Simple Photography Tutorials - De Su Mama
November 26, 2012 at 10:31 am[…] tree up as a family. To see examples of Christmas bokeh shot during the day, check out these photography tutorials from earlier this week. As you can see, the Christmas lights make beautiful bokeh even in the […]