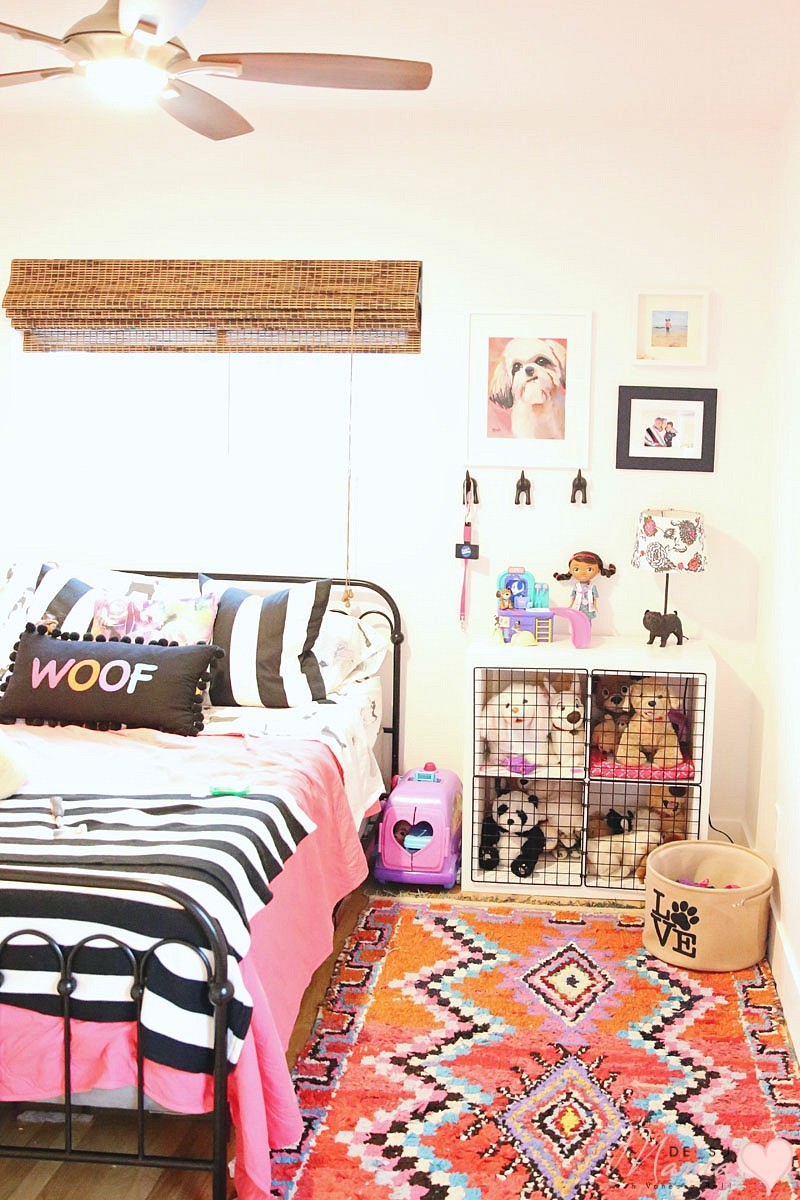
My 6 year old has been in love with dogs since as long as she could remember. When her friends play house, she’s always the dog. She loves to bark and, without fail, always chooses stuffed animal dogs as gifts. So, of course, when we moved into our new home in California, her room was destined to be dog themed and high on my agenda was figuring how to create stuffed animal storage for all her canine friends.
While shopping at Walmart one day, I came across the Better Homes and Gardens cube storage system and instantly got an idea for a DIY stuffed animal storage play kennel for our little dog lover. Big thanks to Walmart for sponsoring this quick tutorial! Here’s how I made the DIY stuffed dog kennel…
Stuffed Animal Storage for Dog Lovers
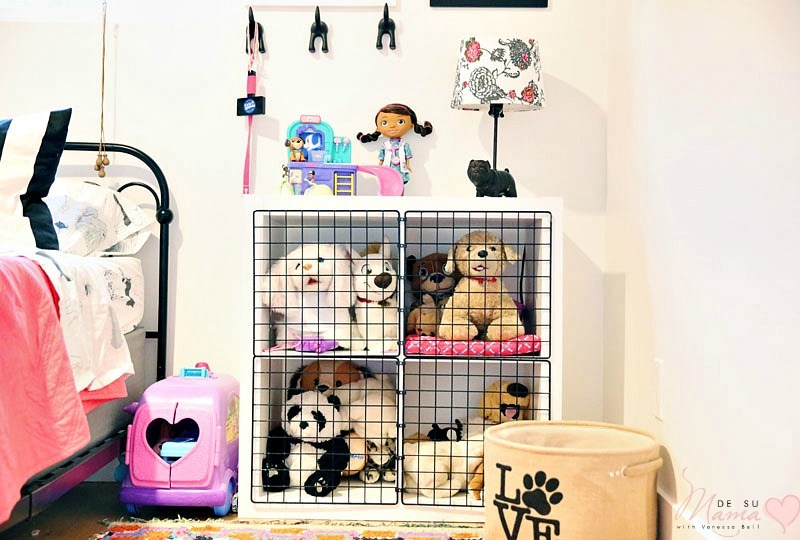
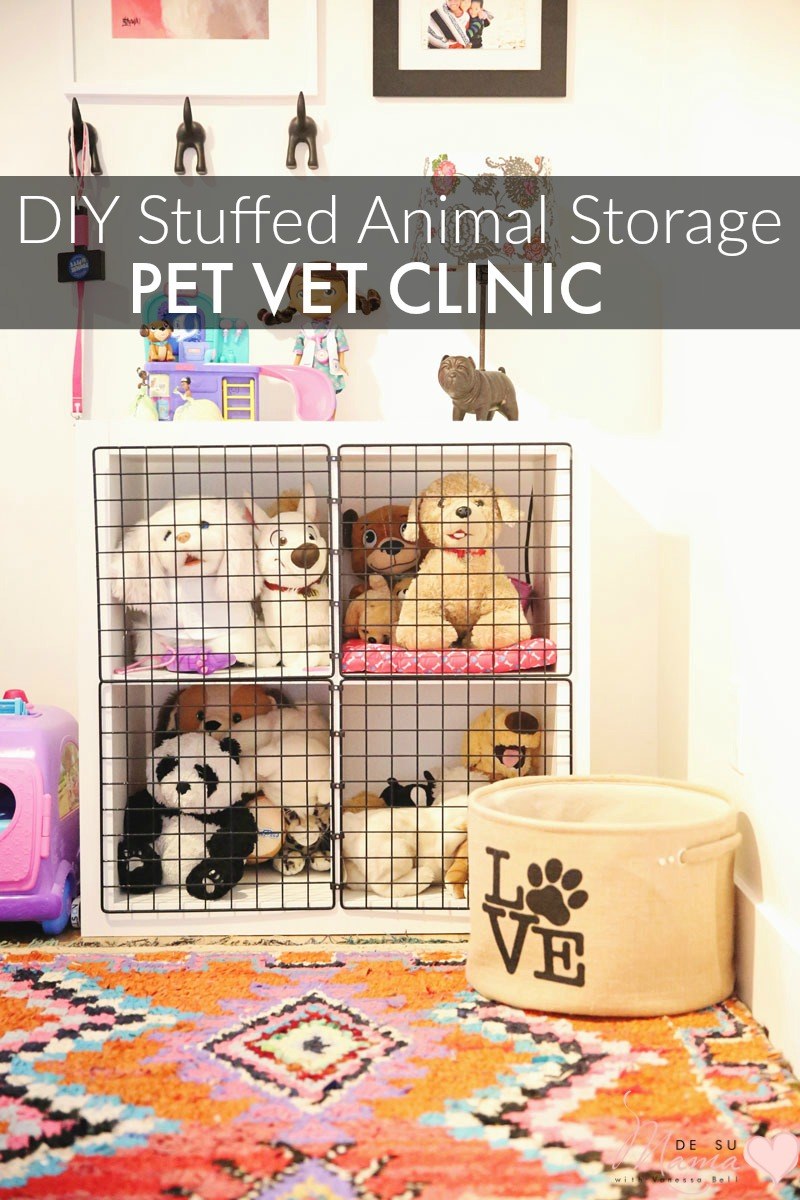
Making a DIY stuffed animal storage kennel for dog lovers isn’t super difficult. In fact, you only need a few items to make this super cute pretend-play dog kennel. We chose to begin with Walmart’s Better Home and Gardens Square 4-cube Organizer as a base. It’s not difficult to build and we love the clean, simple lines this storage cabinet has. It goes perfectly in our daughter’s dog-themed room!
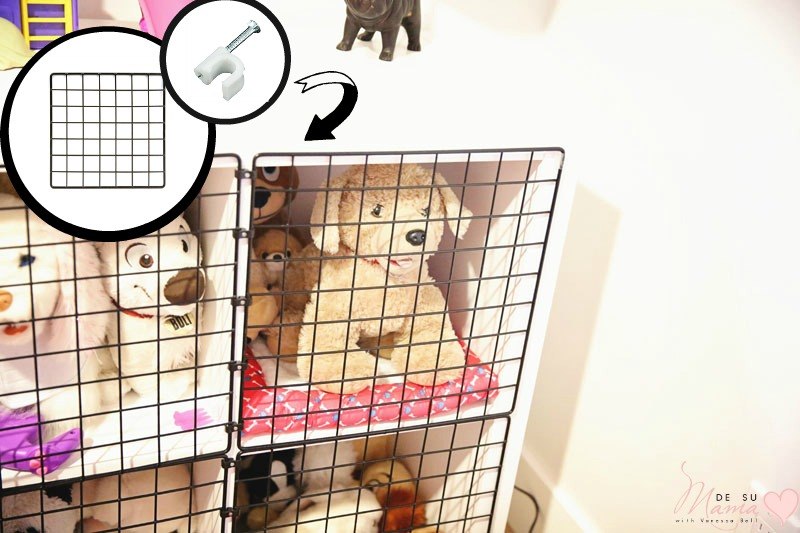
Now, for the kennel doors. I looked far and wide and finally located these 14×14 mini grid panels in black. Though they weren’t very expensive, but the shipping was high. They did, however, fit the opening of our BHG cabinet perfectly.
To attach the doors to the cabinet took some creativity. While browsing through the store one day during a grocery trip, I found a similar item to these GE Nail In Cable Clips. They were the perfect size! However, although they worked well for some time, the plastic is loosening and the doors have been falling after 4 months of heavy use. I recently purchased these Command Cord Round cable clips and think they’ll be a better option. I’ll let you know what I find out!
And that’s it! After we put together the BHG cabinet and had the remaining items, it was a breeze putting this stuffed animal storage unit together for our little dog lover! She plays with it every day, arranging and rearranging each condo-like space for her favorite stuffed dogs.
On top of the cabinet sits her Pet Vet Doctor and grooming tools that makes taking care of her babies even easier. And of course we love how easy it is to keep her toys and tools organized and kept off the floor!



7 Comments
Custom Dyed Basket Liner | Frugal Upstate
January 24, 2016 at 7:15 pm[…] Stuffed Animal Storage for Dog Lovers–DIY Play Kennel […]
Erica
January 25, 2016 at 6:59 amOMG i love this ! I love the storage and the whole room…..sofi is also dog obsessed and the same way …….She would love this room!
Vanessa Bell
January 25, 2016 at 9:00 amThanks, Erica! It was tricky giving her the “dog room” of her dreams with some style.
Melanie
July 15, 2017 at 2:58 pmLove this! Can you tell me how the new command hooks are working out? I want to do this for my kids playroom. Also what did you use for the bottom of the kennels, have you found any perfect fits or are they blankets?
Vanessa Bell
July 19, 2017 at 9:03 amThe command strips work great! And the dog beds you see in these pictures fit perfectly in the kennel and are from Build-a-Bear. Hope that helps!
Heather
December 18, 2017 at 9:12 amWow, thank you so much for this! My daughter has been obsessed with animal cages since a trip to a Children’s Museum that had a giant wall of pat cages much like what you have here. I have been search for something like it and no one sells it! I really appreciate the links too, makes it easy to know everything will fit exactly right.
Leslie
January 4, 2018 at 10:07 amHi there! I absoutely love this idea and am doing this for my daughter for her birthday. I saw your comment above about the command strips being a better option. Are they still holding up well? I’m trying to decide the best way to connect the doors!
Thank you!