When it comes to obsessing over the latest trending hairstyles, my little girl and I find inspiration in Disney hairstyles and figuring out how to recreate them for our curly hair. Easy said than done, but at least we try! Nevertheless, my sweet baby girl always goes back to her favorite Minnie Mouse hairstyles and these adorable set of buns. She’s all about Minnie Mouse hair and these cute hairstyles for little girls is an easy and quick option for our Disney days!
Minnie Mouse Hairstyles
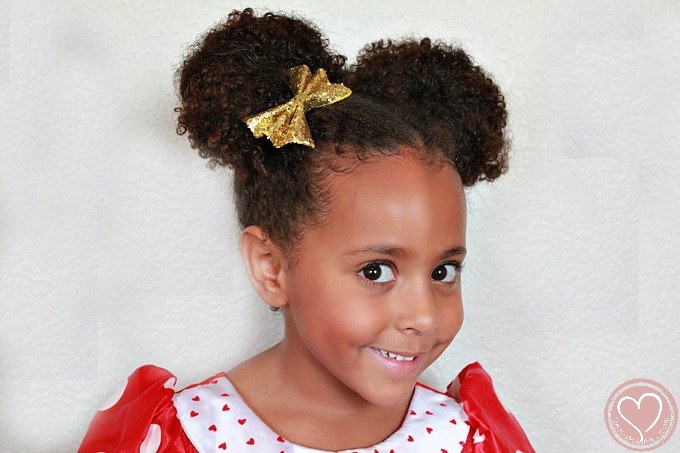
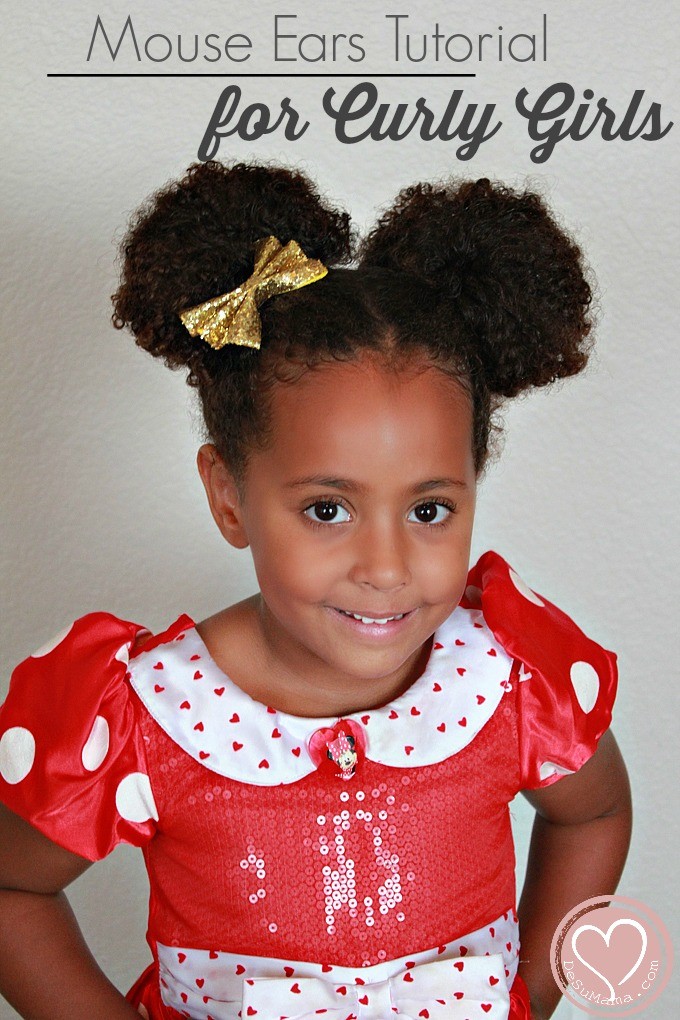
My daughter has beautiful, curly hair that I refuse to destroy with heat or other straightening techniques. Of all the cute hairdos we do, 2 buns are one of my favorite. My baby girl is only 4 years old and we’re celebrating our love of the Mickey Mouse with a tutorial for one of our favorite Minnie Mouse hairstyles: mouse ear buns for curly, mixed hair! Learning how to make Minnie Mouse ears with your hair is a little trickier when you’ve got all this texture, but it can also be an advantage when it comes to volume.
Below I’ll go through each of the steps to create these adorable 2 buns hairstyles, as well as list all of our favorite tools – such as the best rubber bands and products for your toddler!
Easy Little Girl Hairstyles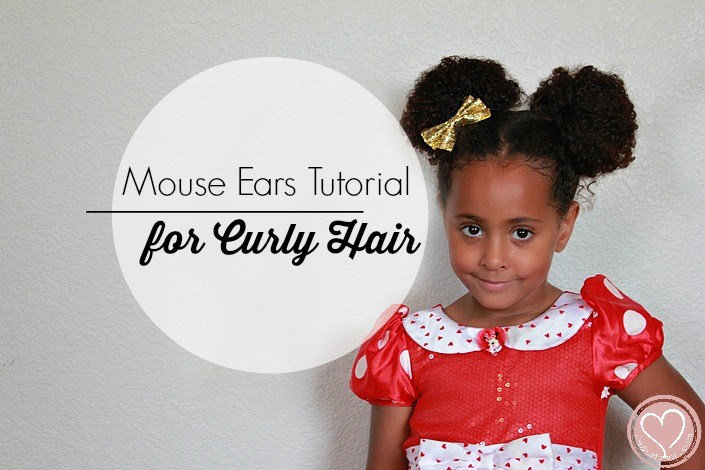
 Disney Hairstyles
These Minie Mouse hairstyles are so easy and quick to create! Since we’re Disney Passholders, we’re at Disneyland a lot (like once a week) and this kids hairstyle for short is quick and easy. Learning how to do Minnie Mouse bun for your little girl hair styles will be the easiest thing you’ve ever done! Of course, we could just use a Minnie Mouse hair bow or headband, but what fun would that be?! So let’s get to it…
Minne Mouse Ears Hairstyle
First, let’s get all our tools together. To do a Minnie Mouse ears hairstyle, you’ll need…
- Dry, clean hair: Since curly hair has natural volume, we do not need to tease the hair or apply extra holding product to make this bow hairstyle. You will, however, want the hair to be completely dry in order to brush out the curl pattern as much as possible.
- Parting Comb: A must-have when doing little kid hairstyles! Especially for those of us with a ton of mixed hair to work with. I recently upgraded to this professional parting comb and LOVE it.
- Boar Brush: Used for smoothing and detangling only, this brush is great for removing the curl pattern to create a smooth (straight) look without heat or products. This is the boar brush for curly hair that we use.
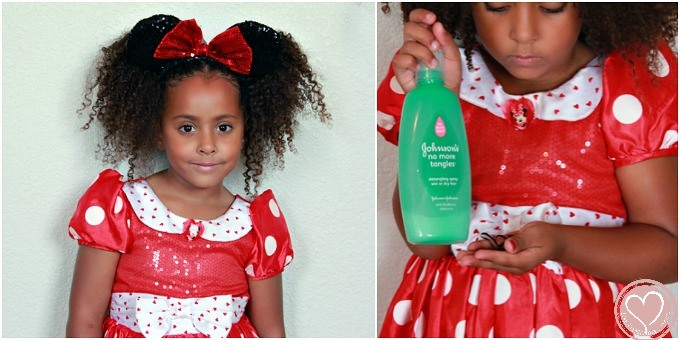
- Detangler/Leave-In Conditioner: For my toddler, we love Johnson’s Baby No More Tangles Leave-In Spray to prep our hairstyles instead of water to rehydrate. We buy the 3 pack linked here because we use it that often.
- Rubber Bands: For these Minnie buns, I use the thinnest elastic bands and will CUT them out of her hair. We do a lot of rubber band hairstyles and these are the rubber bands for curly hair that we use most often. I’ve bought some from Target that just pop off, but these seem to hold up well. Please be careful to avoid hair damage when using elastic bands and avoid ripping or pulling them out of the hair. If there is hair wrapped around your bands, you are breaking the hair.
How To Make Minnie Buns
OK, time for some fun! Doing little girl hair is seriously a fun way my daughter and I bond and she loves rocking this style (as you can tell from the pictures!) Here are the steps to create these adorable mouse bun ears…
- First, you can part the hair down the middle creating two sections using your parting comb.
- Spray the head with a bit of the leave-in spray and use the boar brush to smooth out the hair while retaining moisture. Move completely around the hairline, including at the nape of the neck. If you have a tight curl pattern, as we do, it might not be completely smooth. No worries! Since we’re doing baby girl hairstyles, no need for stiff gels or holding products.
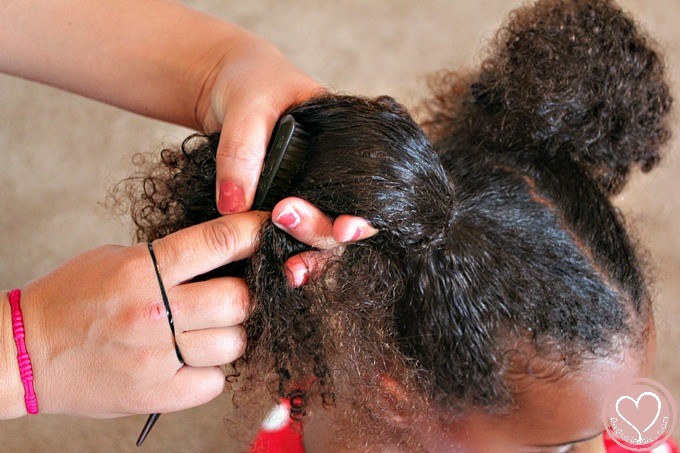
- Create two, very high pigtails and secure with rubber bands. (You’ll be cutting these out later.) These are the base of your Minnie ears.
- Now, liberally apply your leave-in spray on the hair near the rubber band, at the base of the ponytail that will become the outside of the bun. Use the boar brush to smooth the hair and curl pattern.
- Fold and fan the hair over itself to create a bun, pulling the outer corners wide to resemble a mouse ear.
- Use the elastic band to hold the ear bun in place, tucking extra pieces of hair inside the bun and elastic and needed.
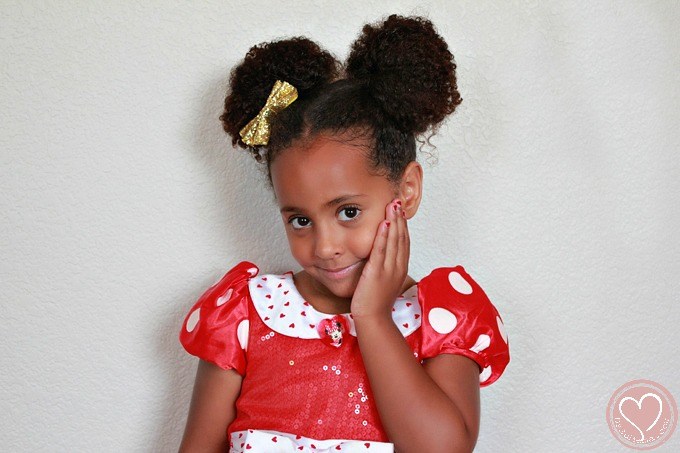
Doesn’t my little mouse look adorable? We love the way her Mouse Ear Buns turned out! Because her curly mixed hair has plenty of volume, teasing was not necessary. Have you worn Disney hairstyles?
Note: I’ve gotten a few emails saying that these are afro-puffs and, while it looks that way in photos, her hair is actually tucked and fanned into buns. We love afro puffs! But my toddler’s afro puffs are WAY bigger, considering the length of her hair.

Weather Anchor Mama
October 22, 2014 at 9:18 pmit turned out cute. Alina has a ton of curly hair. Love it.
Tamara | Natural Hair Rules
May 15, 2015 at 9:55 amSo cute!!!
Curly Hair Dos for Halloween - KEURLZ
October 27, 2017 at 11:49 am[…] Tutorial: De su Mama […]